This year I started working with a large format camera. I’d entertained the thought of doing this over the years but never followed through with it until now. In part this was down to the reasons you might think: it’s expensive, at anything from 3.- CHF up to 20.- CHF per shot, it’s slow, it’s cumbersome, it’s limiting, it can be an exercise in self-flagellation.
The most compelling reason I didn’t move “up”, as it were, was simply because I didn’t have a project that required the format, nor was my eye good enough. I’ve already introduced the camera into exiting projects to re-shoot images I’m not happy with, and I’ve been working on some new projects that the camera has allowed me to investigate in more depth.
Before we get into the details it’s worth examining why I started using this camera, despite the aforementioned reasons not to. Let’s debunk the obvious reasons first, because they’re not much of a concern or don’t appeal to me.
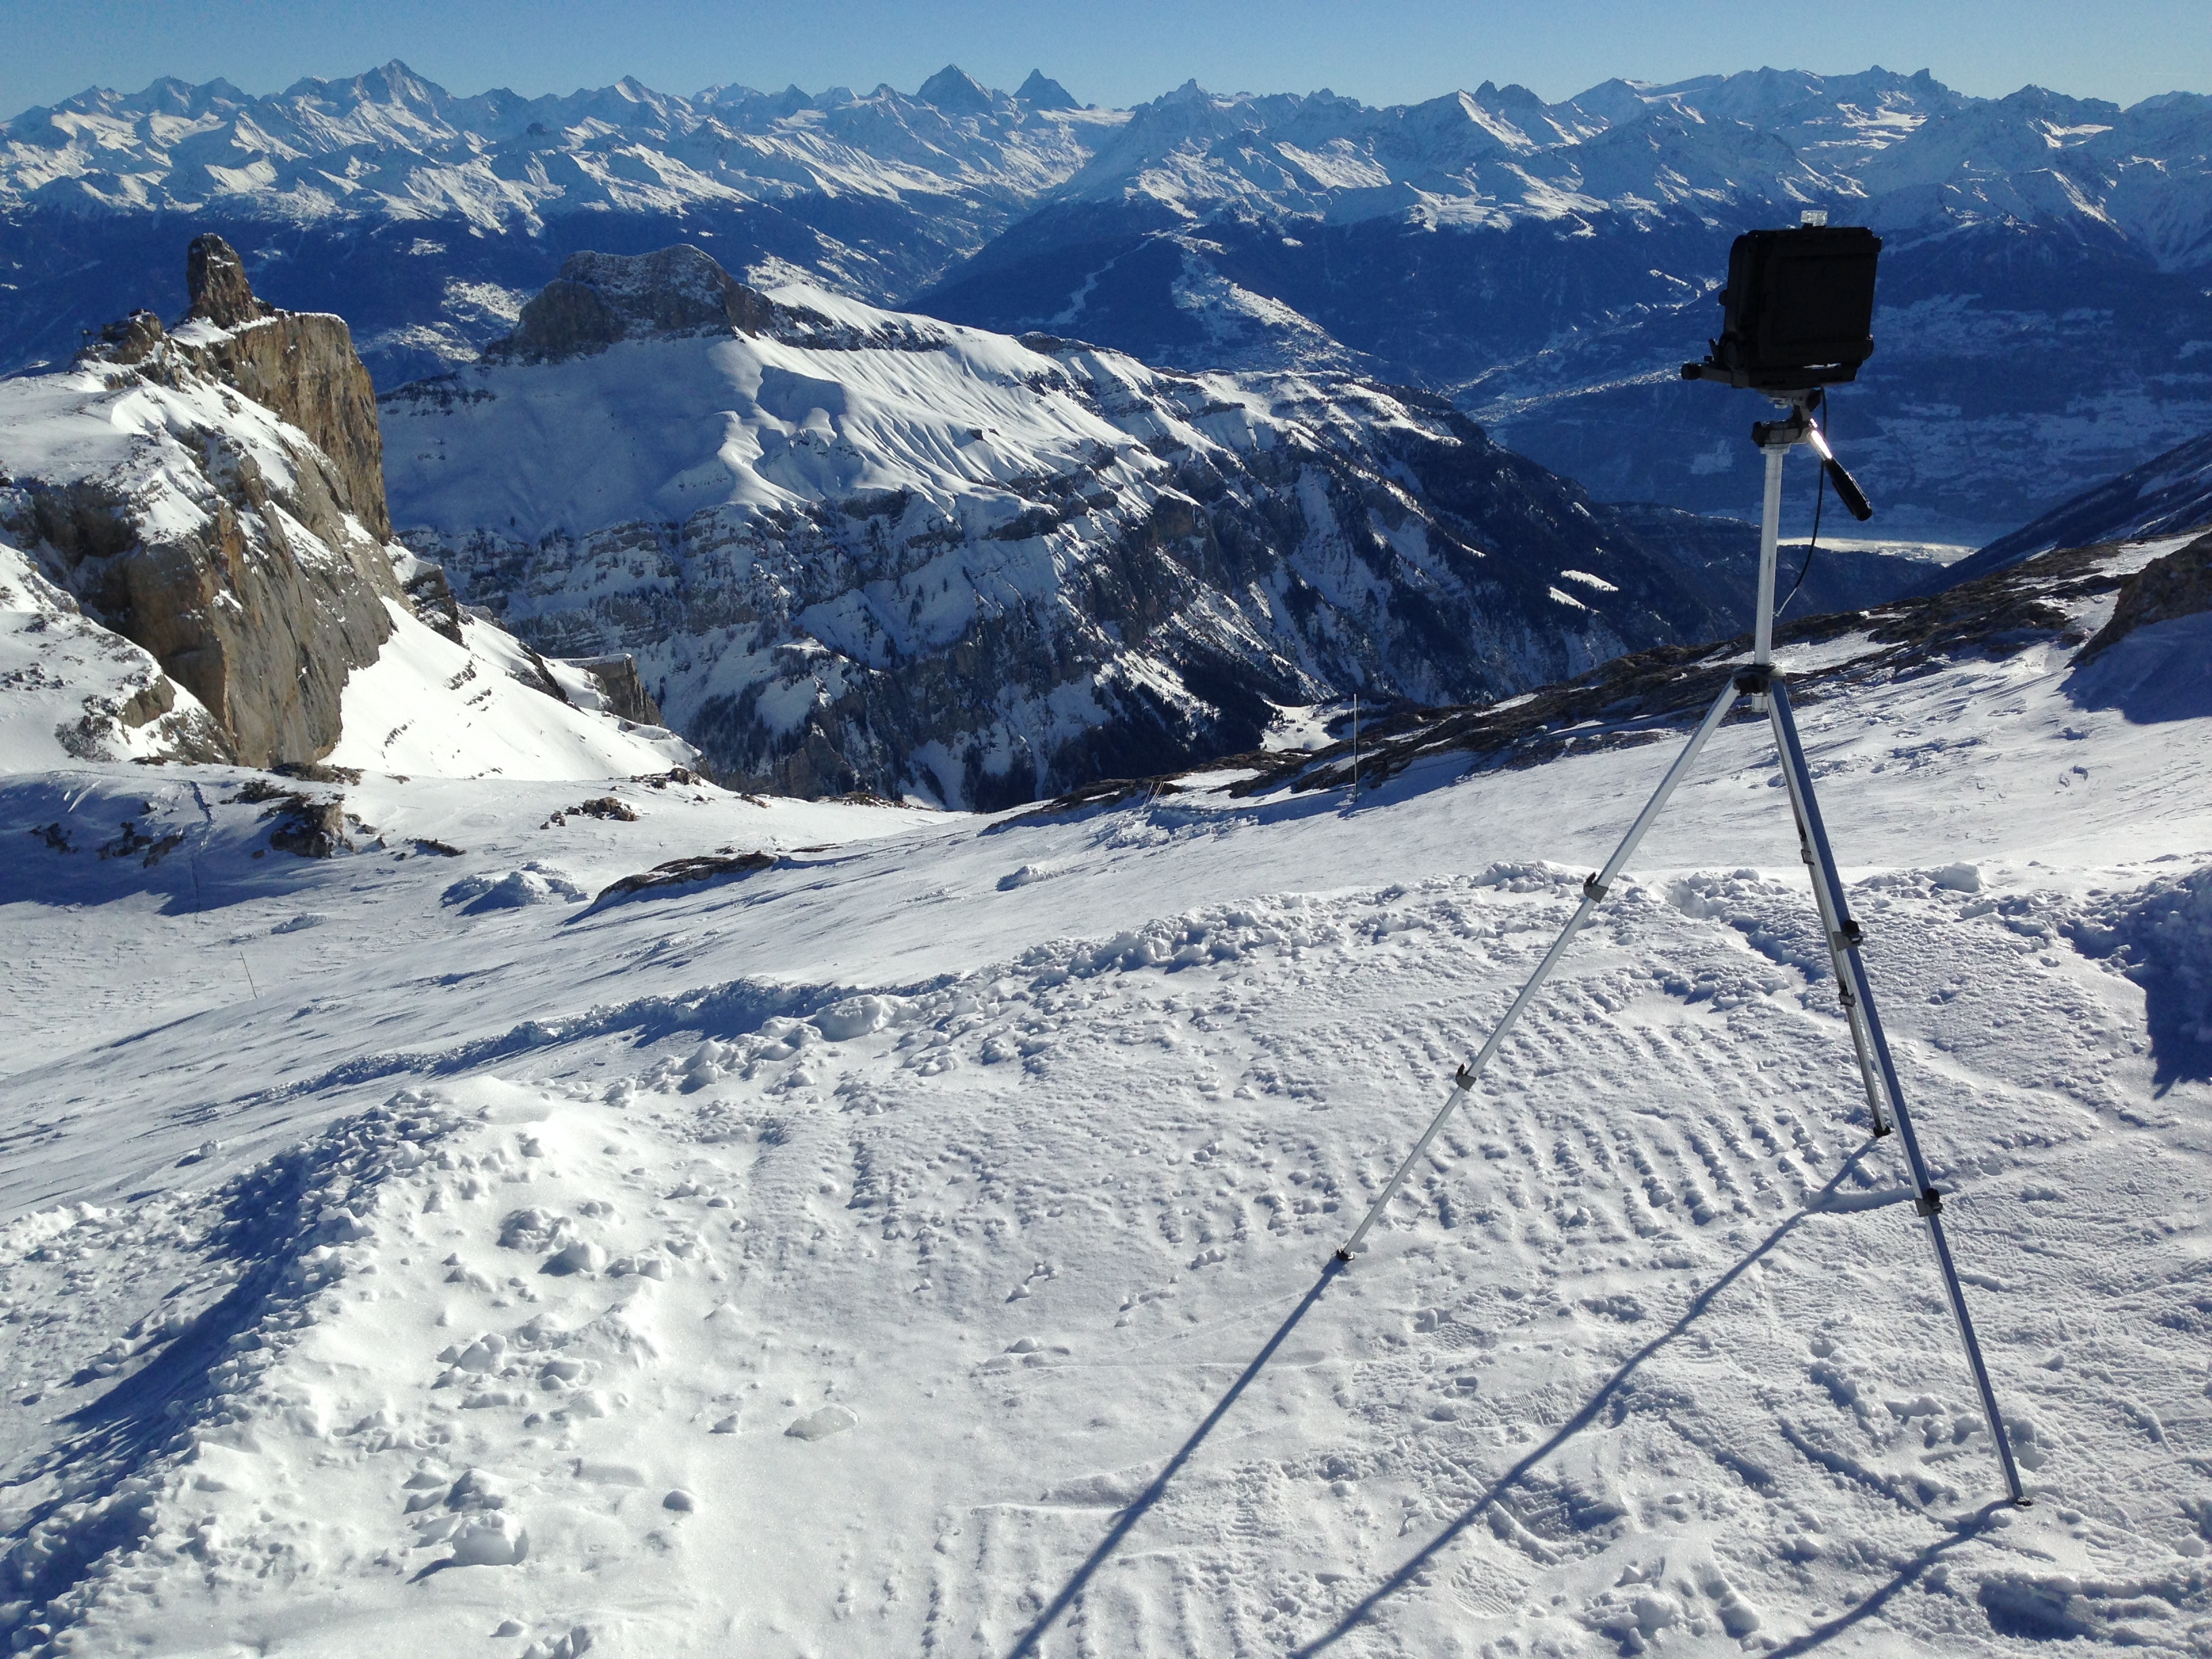
Above is a photo of the camera at the top of Glacier 3000 in the Swiss Alps. So we’ve addressed a couple of concerns immediately. I took this camera and all the necessary extra equipment1 3000m up a mountain to shoot a photo, in the middle of winter. When I was done I put it into my backpack and snowboarded the 10km or so back down to the base station.
So it’s neither cumbersome nor is it limiting. It just requires a little more preparation beforehand, for example in this case I couldn’t take my heavyweight tripod so had to compromise on the lightweight one. The next reason we can debunk is demonstrated by the resulting photo from this trip:
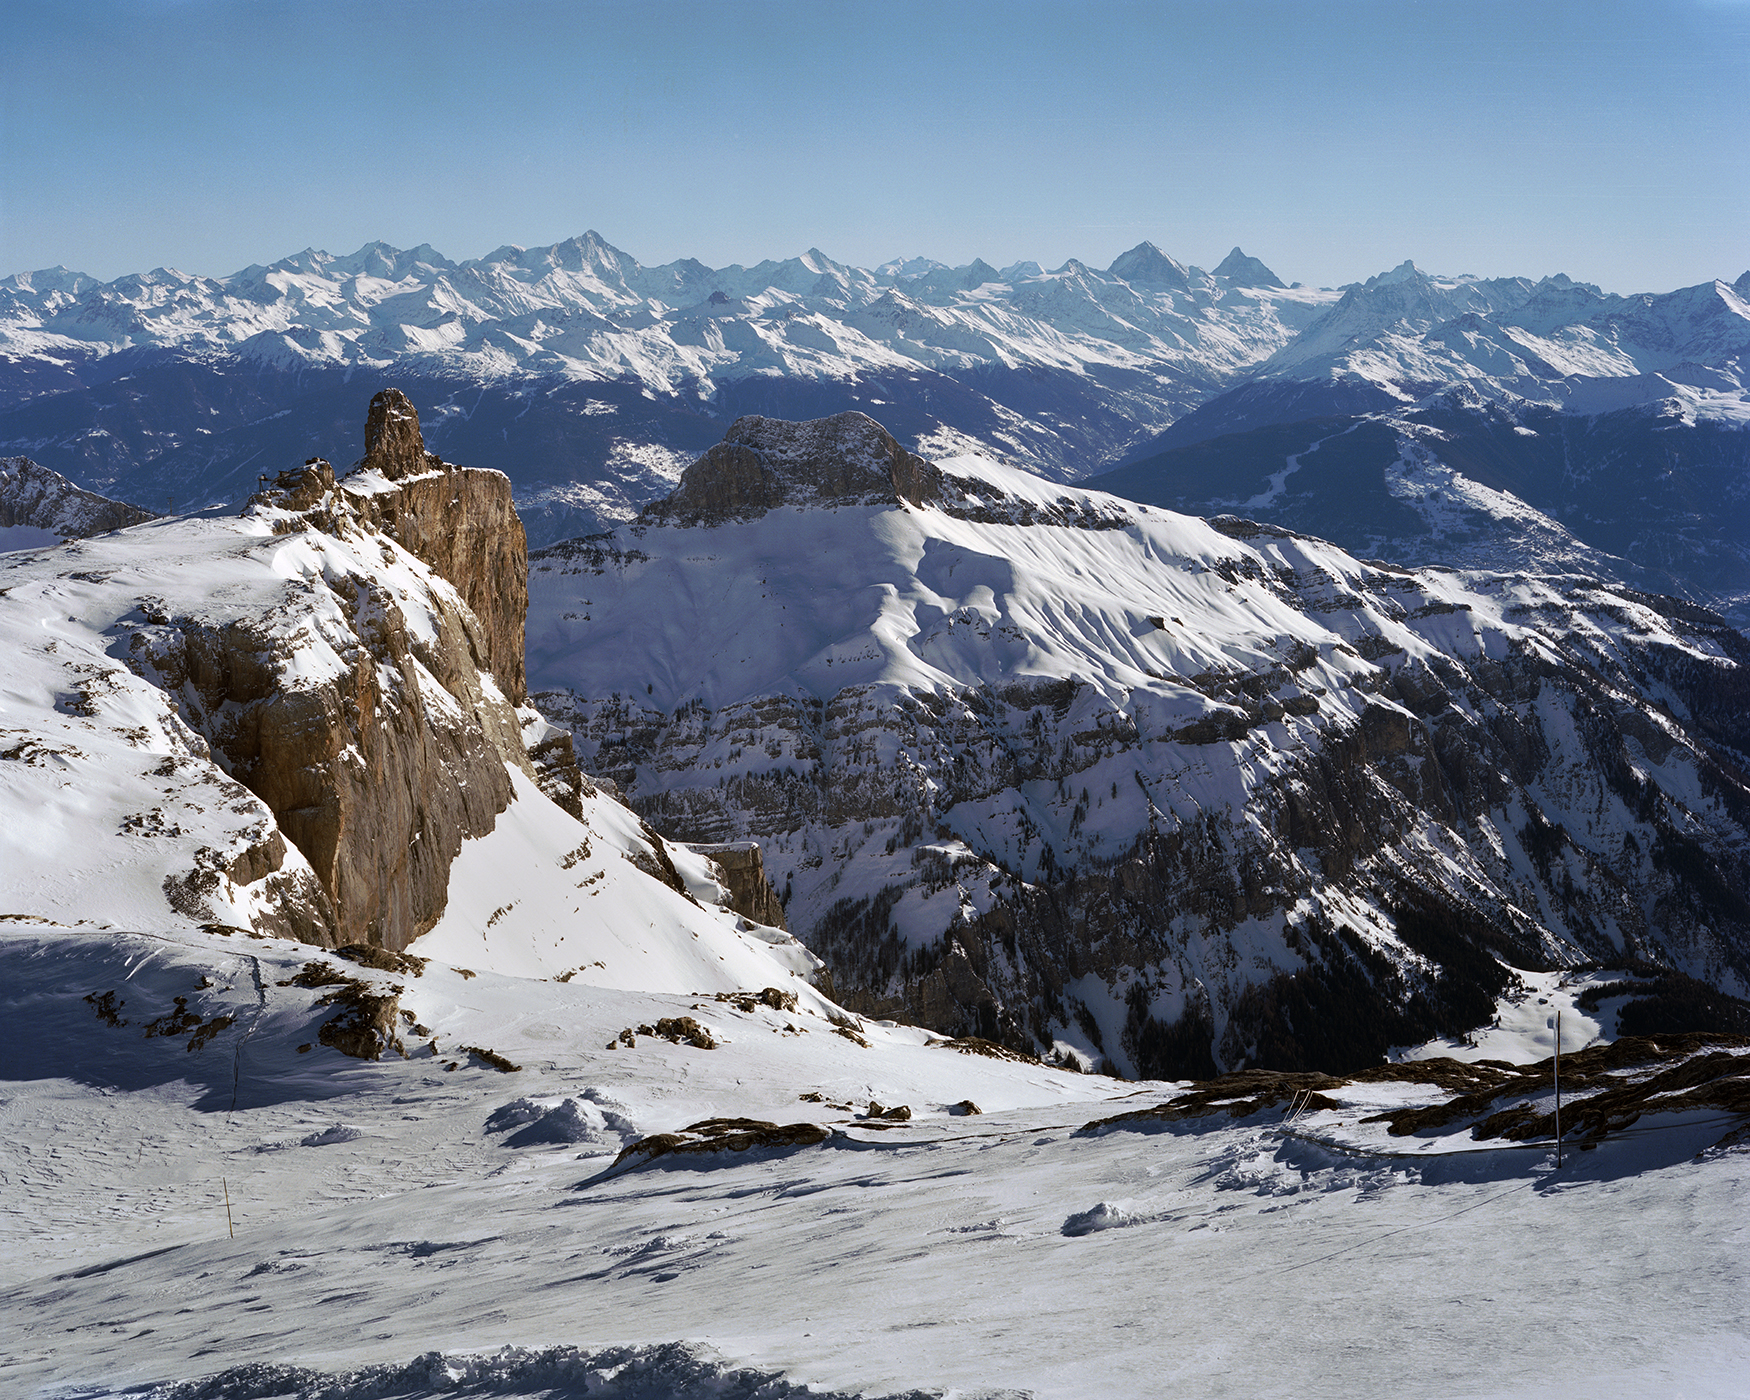
Ignore the composition, and the fact that the iPhone image has the camera in it, and look at the two images. What do you see? Some differences in colour perhaps, and yes if we look at the full size images we can see the 4x5 image has more detail. But really, that’s it.
The scan of the 4x5 image resulted in a 171 megapixel image, which is scaled down here to 1750 pixels on the long edge and then scaled down further by the browser to fit in this blog post. This is how we consume images these days. On screens. Often on tiny little screens.
Of course the increase in resolution and such can come into play but that’s not a reason to use this camera. In fact I’d already taken a photo of this same scene a year earlier on a much smaller camera, and I knew that I wasn’t going to better it no matter how big a camera I used:
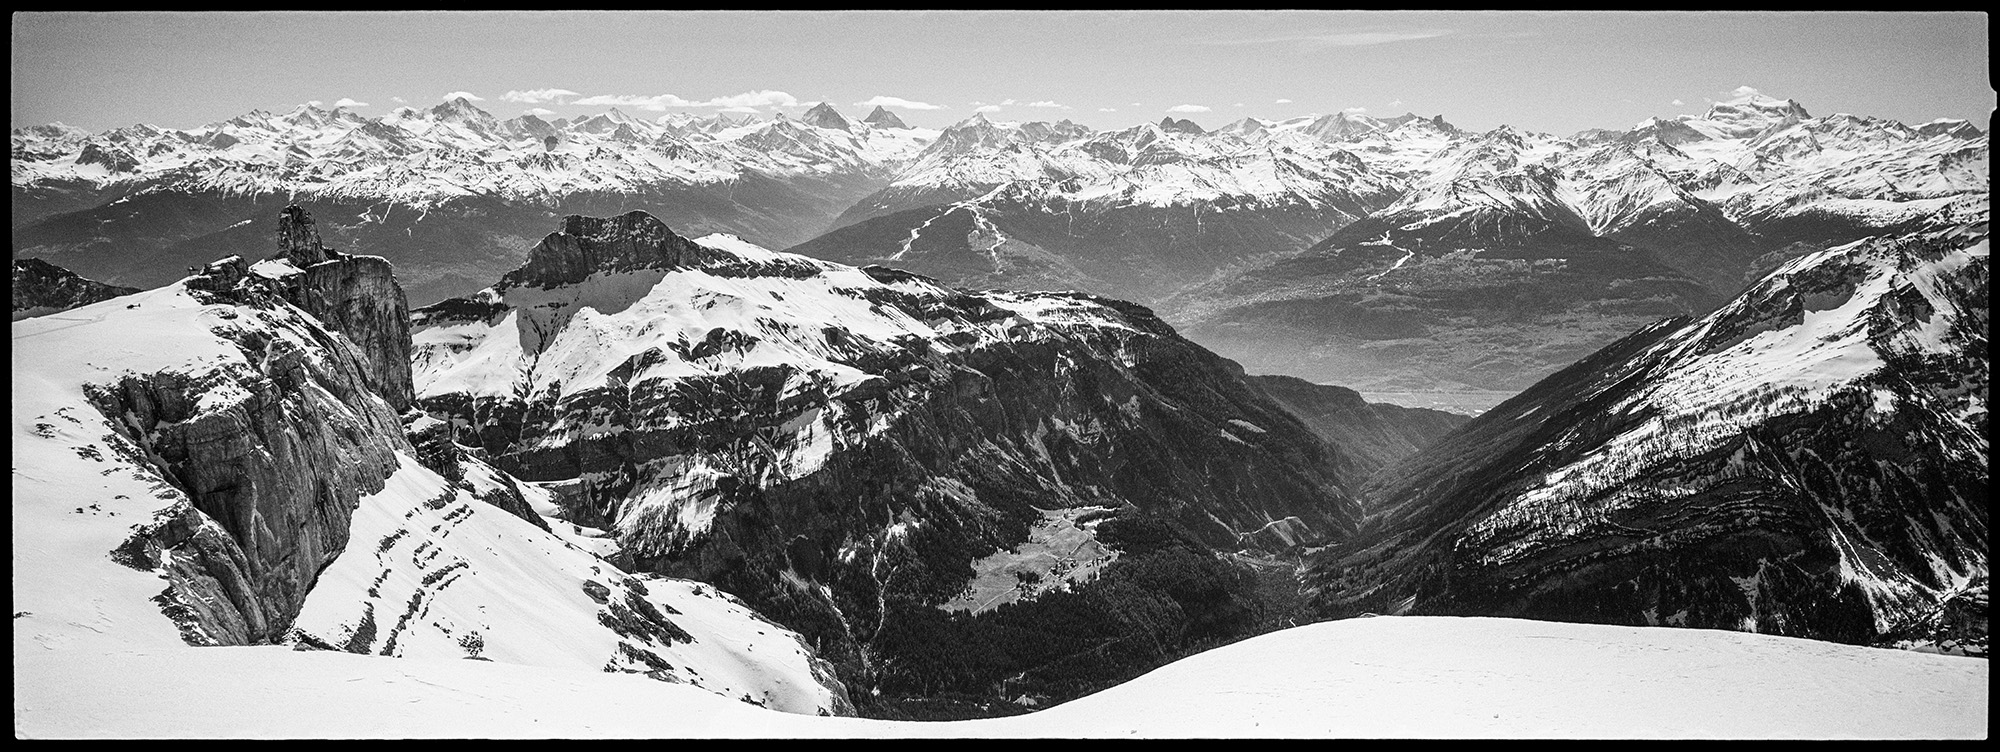
The size of film or sensor, the quality of the lens, the depth of the colour, the number of pixels, etc, these are technicalities that have little bearing on what you are trying to say in a photograph. I’m not using this camera for any of those reasons, because i’m not interested in how many angels are dancing on the head of that particular pin2
Control
So why use this camera? Why go through all this extra work for apparently no obvious gain? Two reasons: it’s about control and it’s about how the camera informs your approach. The first is a technical reason - making it possible to shoot images in which the lines are straight or everything is in focus, but the second reason is more interesting.
When it takes five minutes to setup the camera, another five minutes to compose and focus the scene, another five minutes to wait for the right moment to fire the shutter, and it’s going to cost you several CHF to fire the shutter, you think about the nature of photography itself. Why am I shooting this photo? What am I trying to say? Is this even necessary?
I find more and more that I will go through the process to shoot a photo but at the end of it all I will not fire the shutter. It’s a slow meditation, one in which I’m building up an album of photos that exists only in my head. An album of photos not taken.
But more than that; the nature of the camera, using low sensitivity film and smaller apertures, means longer exposures. Often many times longer than would be necessary on other types of cameras. The decisive moment becomes a smudge, it can be a return to the early days of photography3. There is often an added complication of the chemical process breaking down when exposures reach into multiples of seconds: Reciprocity Failure.
Other photographers have used long exposures, whether through necessity or conceptually, to create distinct images or a unique aesthetic. Mark Power shot a photograph that crosses two millennia as part of his project on the Millennium Dome. Murray Fredericks takes his camera into the middle of a dead lake to shoot minute long exposures of landscapes, the result is often an image seemingly of nothing.
Sugimoto Hiroshi shoots photos of movie theaters, for the duration of the movie. Atta Kim takes hours long exposures of well known city locations to remove all human presence. Michael Wesely shoots single exposures of construction sites, that last for the duration of the construction - one, two, or even three years.
The paradox of this, or contradiction if you will, is that a camera designed to be very precise, considered, capable of producing photographs of extremely high technical quality, can result in images that are full of ambiguity.
Moving Mountains
Most long exposures are of the form where the camera keeps still and the things in front of it move. The things that are static remain, and the things that move become a blur or are erased. But what if you want to shoot an image of something that moves very slowly? Something that barely moves over thousands of years?
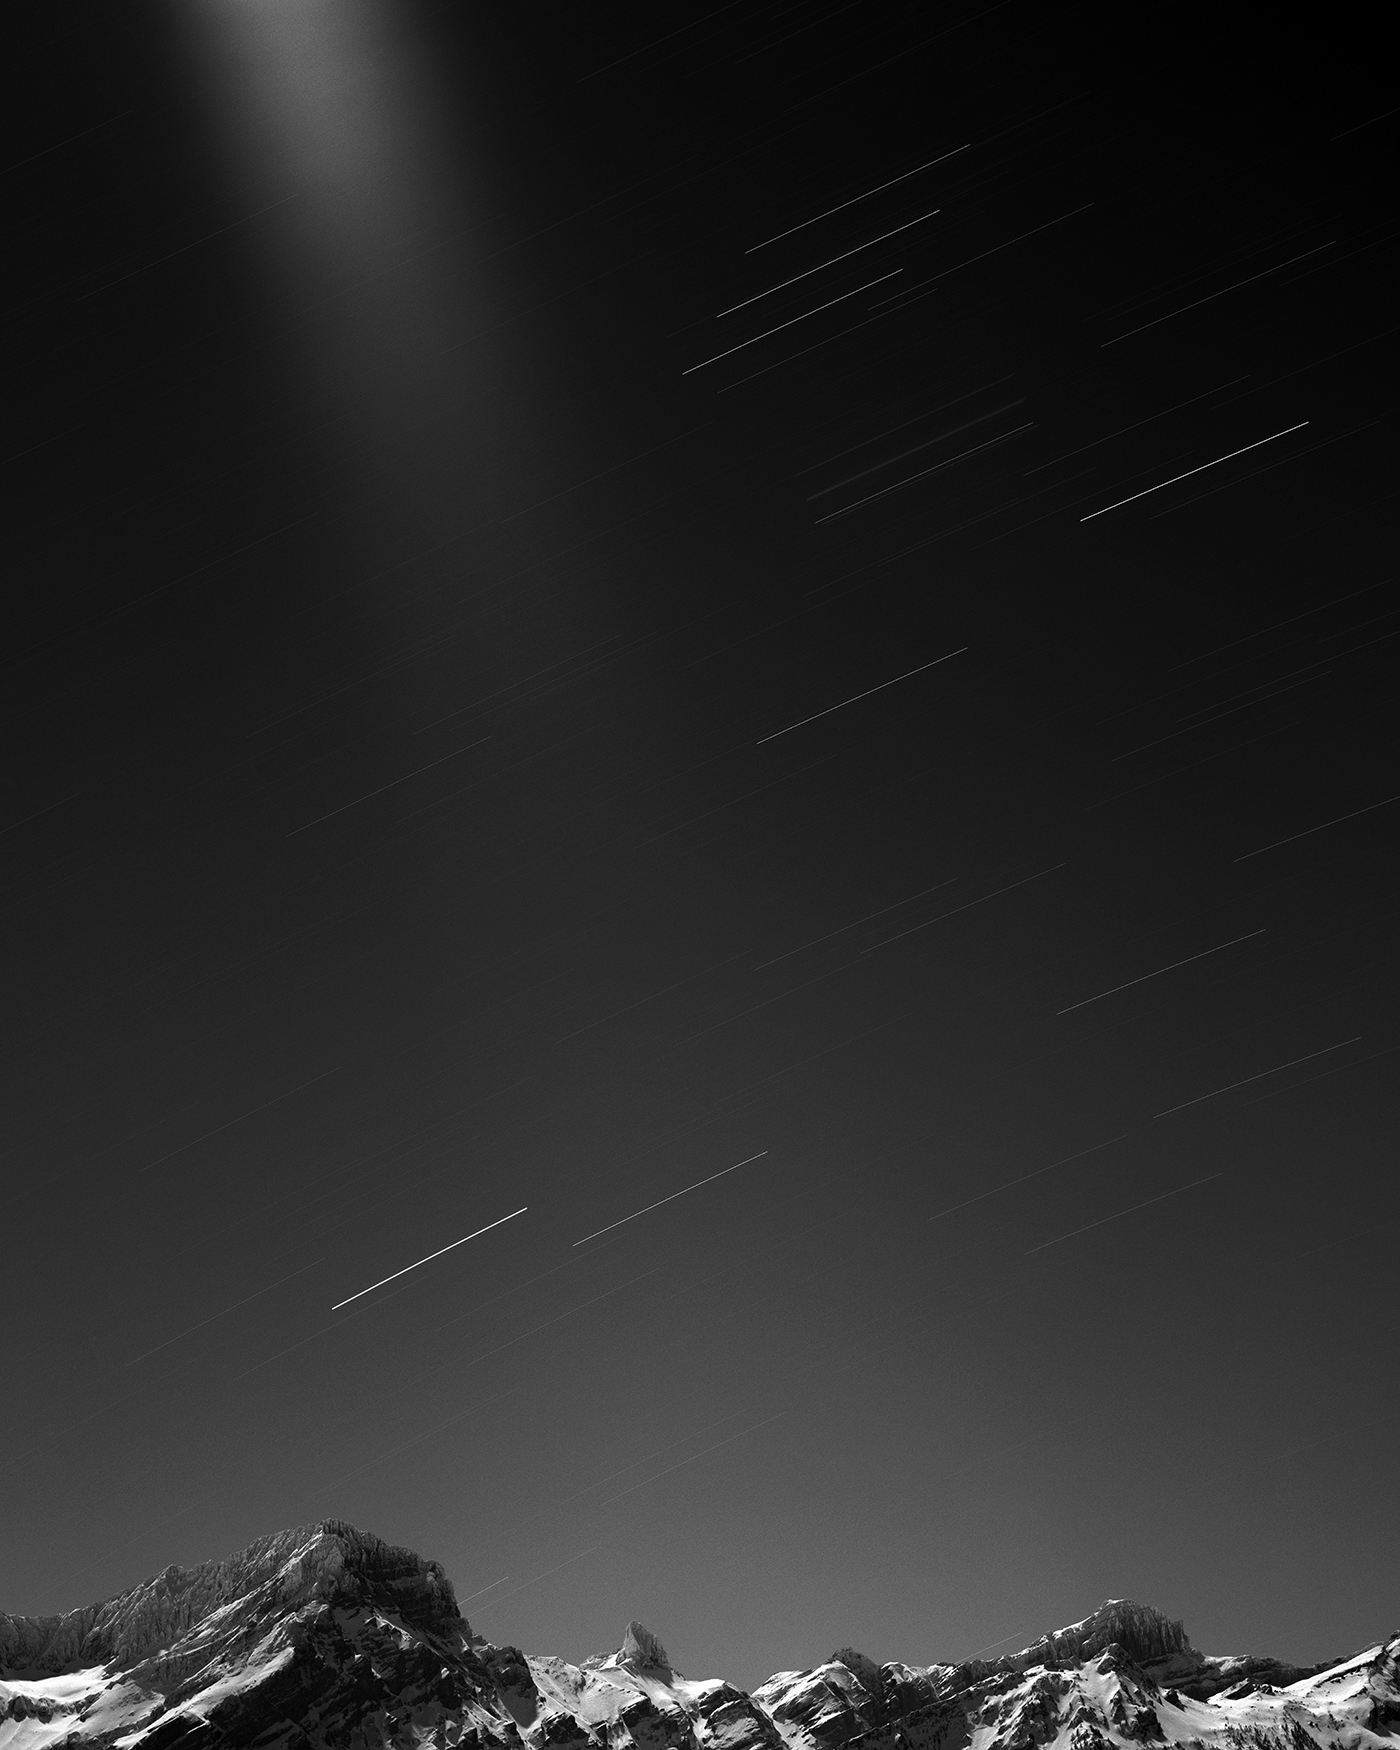
My first attempts at long exposures were typical ones, star trails (above). This was more of an exercise to figure out the challenges of using the camera for actual longer exposures - minutes or hours. Some of the challenges become apparent quite quickly - Even the most stable tripod can be turned into a nervous wreck when temperatures drop to below -15ºC. Wind is a problem, even a light breeze, as the bellows on the camera act like a sail.
After shooting a few types of these photographs I became bored. We’ve all seen these types of photos a million times before, so what’s the point? Sure they can be pretty, but they’re not interesting and they don’t make you think. There’s nothing to say here, it’s far too easy to create technically accomplished very pretty photos that are ultimately incredibly boring. I’m not interested in doing that.
So i started panning the camera during the exposures.

I’m by no means the first to do this and of course it’s a trick as old as photography - just as long exposures were a necessity due to low sensitivity of early materials, panning was, and still sometimes is, necessary in order to render moving subjects sharp while giving a sense of motion.
All of the parts of the process are relatively precise and repeatable - the exposure time, focus, composition, film sensitivity. The one thing that lacks precision/repeatability is the panning speed and angle, so I need to be able to do that with a machine. Of course panning rigs are available for cameras, traditionally for astrophotography, but I didn’t want to spend a fortune on one of these and it would be overkill for my idea; so I figured I could construct something that would be good enough.
Automation
As I had a Raspbery Pi Zero spare this seemed like the perfect place to start. In fact it was a blog post by Steve Bertrand that sparked this whole idea originally. Steve went on to create a successful Indiegogo campaign to fund a eBook on programming the Rasperry Pi with Perl.
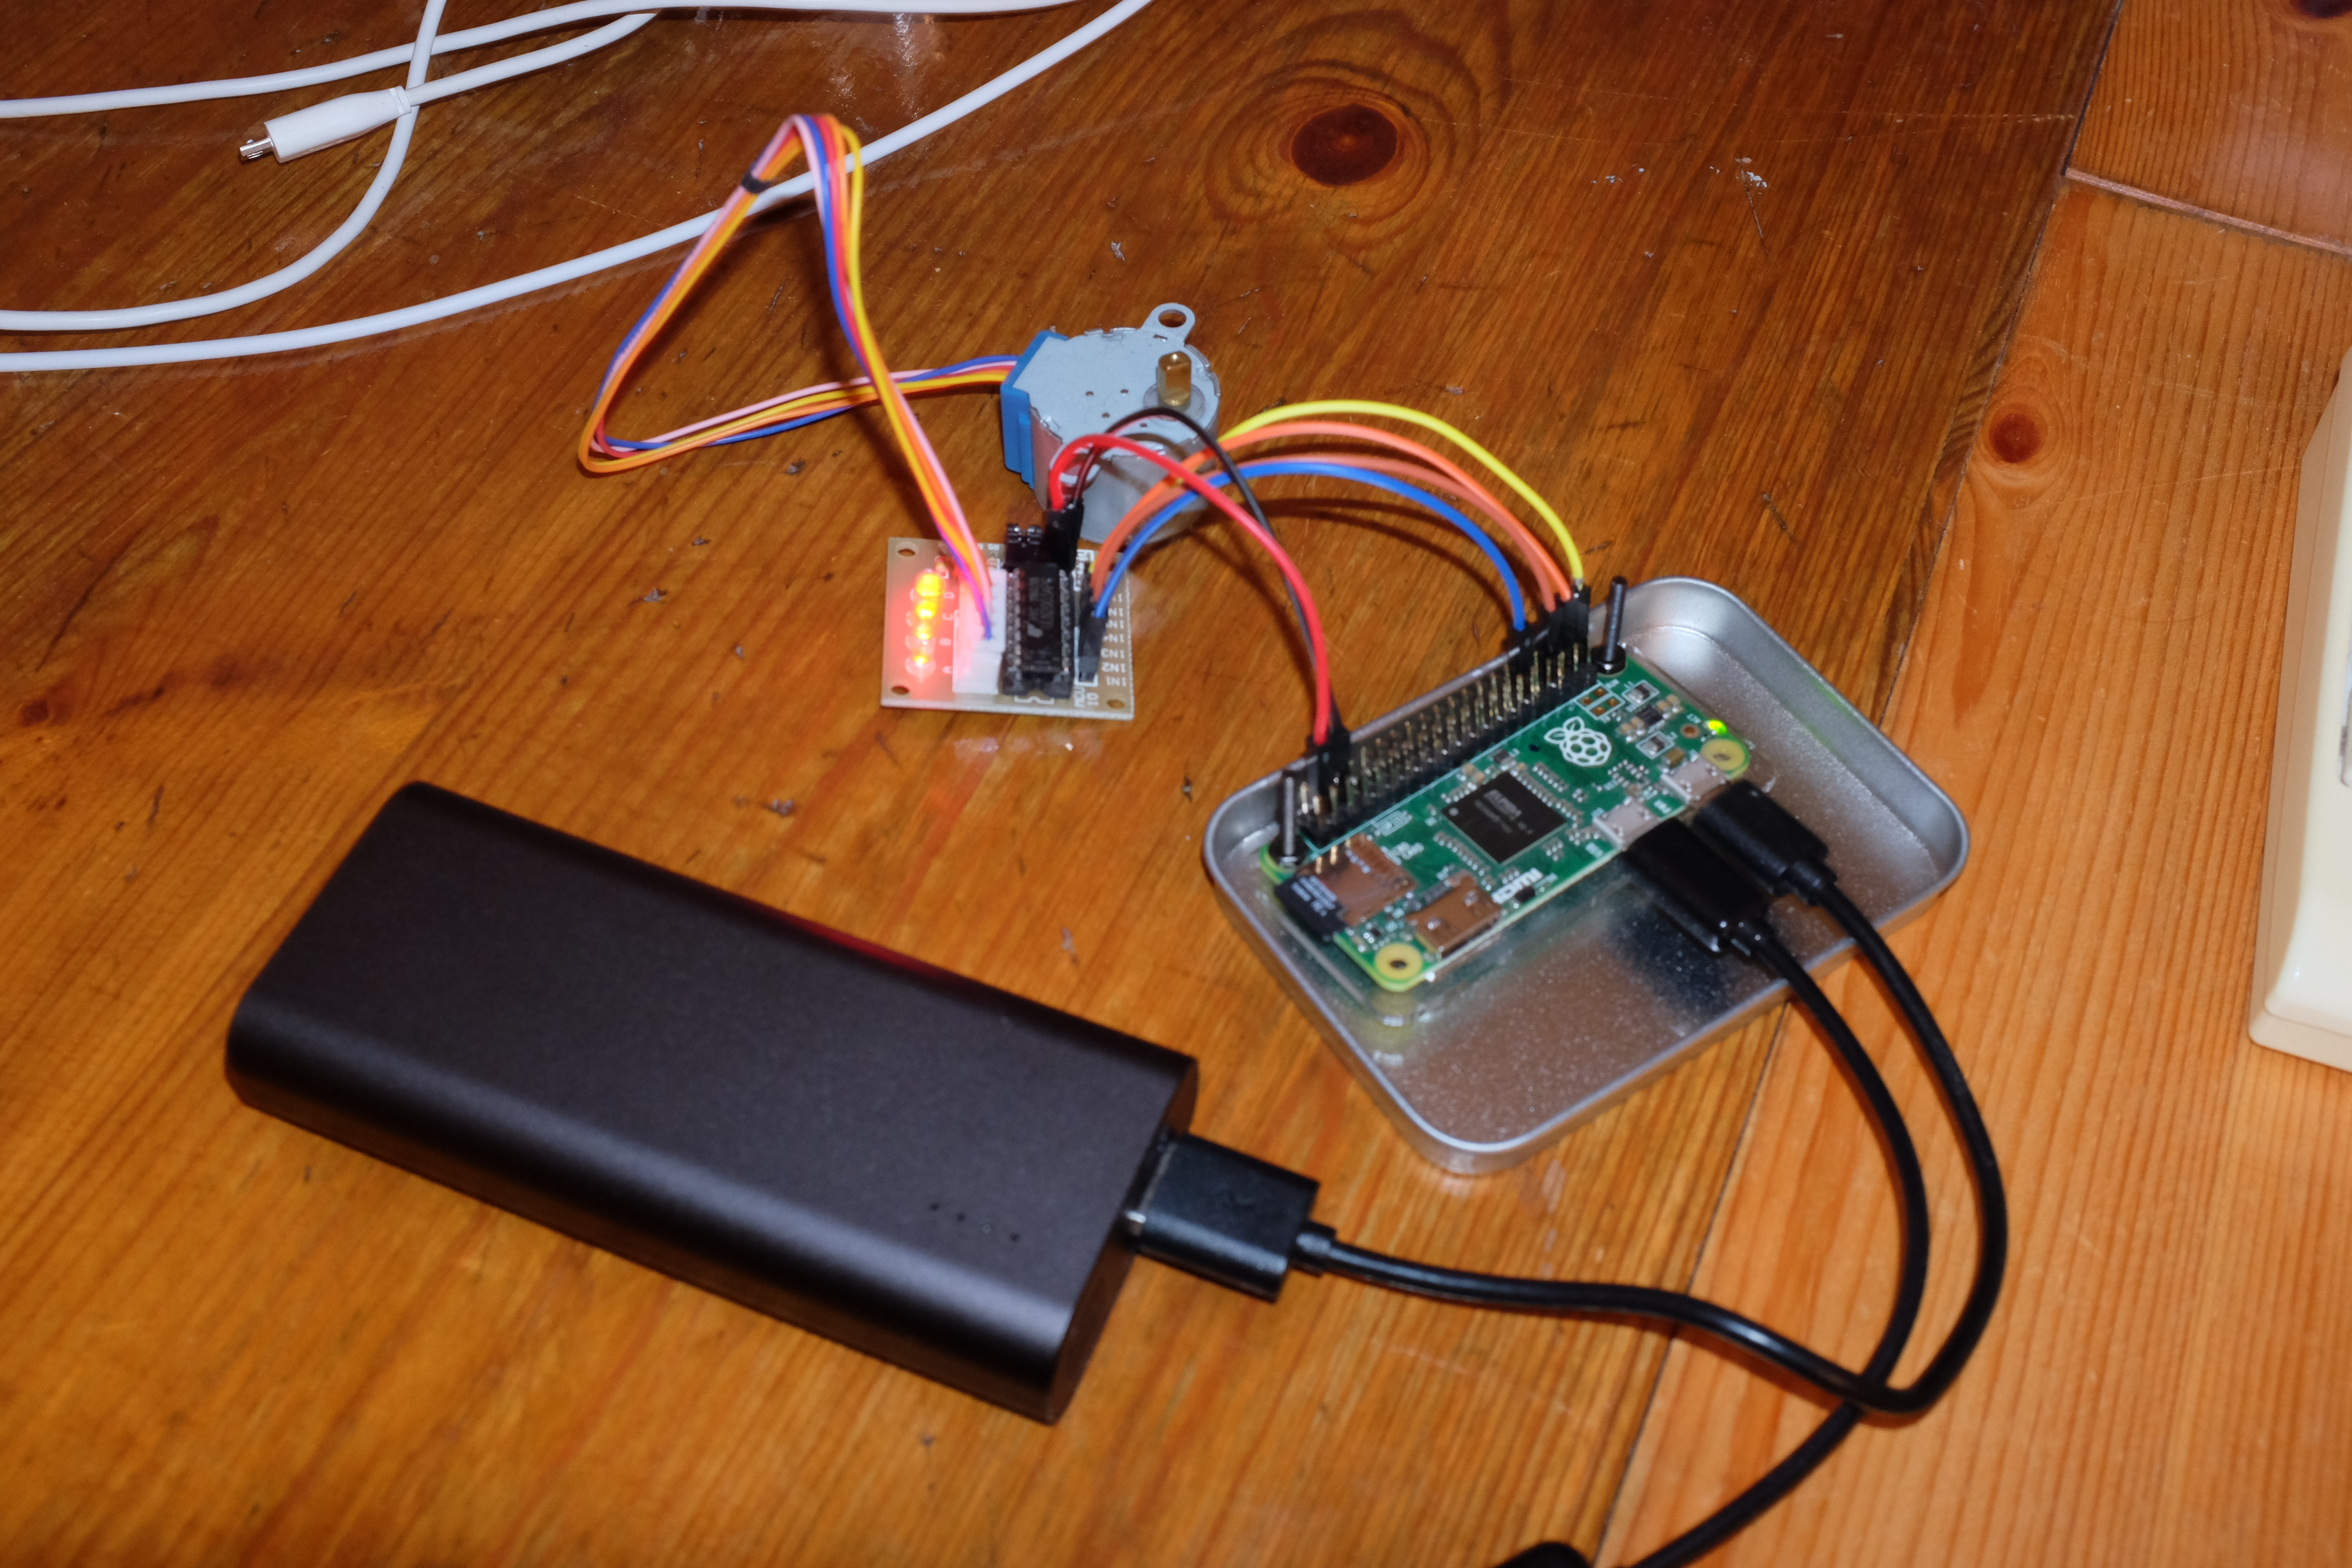
I purchased parts required to complete my setup, a stepper motor, connectors, wires, and then put them together with the Raspberry Pi. The most interesting/fun part of this was probably having to hit the Pi with a hammer to get the connectors into the board. When the board costs less than €10 it’s not as big a deal if you hit it too hard and crack it (which didn’t happen). The entire setup is nice and small and also cheap. In fact, the battery pack used to power it, which I had already, is worth several times the value of all the other hardware combined:
The software setup was relatively trivial, with a step to make sure the underlying Pi libraries were up to date and then a couple of commands to install the Perl libraries:
git clone git://git.drogon.net/wiringPi
cd wiringPi/
./build
gpio -v
gpio readall
cpanm install WiringPi::API
cpanm install RPi::StepperMotor
After having done that it’s trivial to control the stepper motor with a litte bit of Perl:
#!perl

use strict;
use warnings;

use RPi::StepperMotor;

my $sm = RPi::StepperMotor->new(
    pins  => [12, 16, 20, 21],
    speed => 'half',            # optional, default
    delay => 0.001              # optional, default is 0.01
);

$sm->cw(180);  # turn motor 180 degrees clockwise
$sm->ccw(240); # 240 degrees the other way
$sm->cleanup;  # reset pins back to INPUT
And it worked. I added a coupler to the stepper motor after this, and now I have a little bit of hardware and software I can use to pan a camera… A camera panning rig, thanks to a CPAN module.
What Next?
I need to physically attach the stepper motor coupler to the large format camera / tripod to get it to pan the camera. After that i need to figure out optimal exposure times, panning times, panning angles. Exposures behave differently when the camera is panned, although there are some similarities to static long exposures; parts of the image will never appear due to not receiving enough exposure, some parts will stack effectively erasing others. I’m still figuring this out.
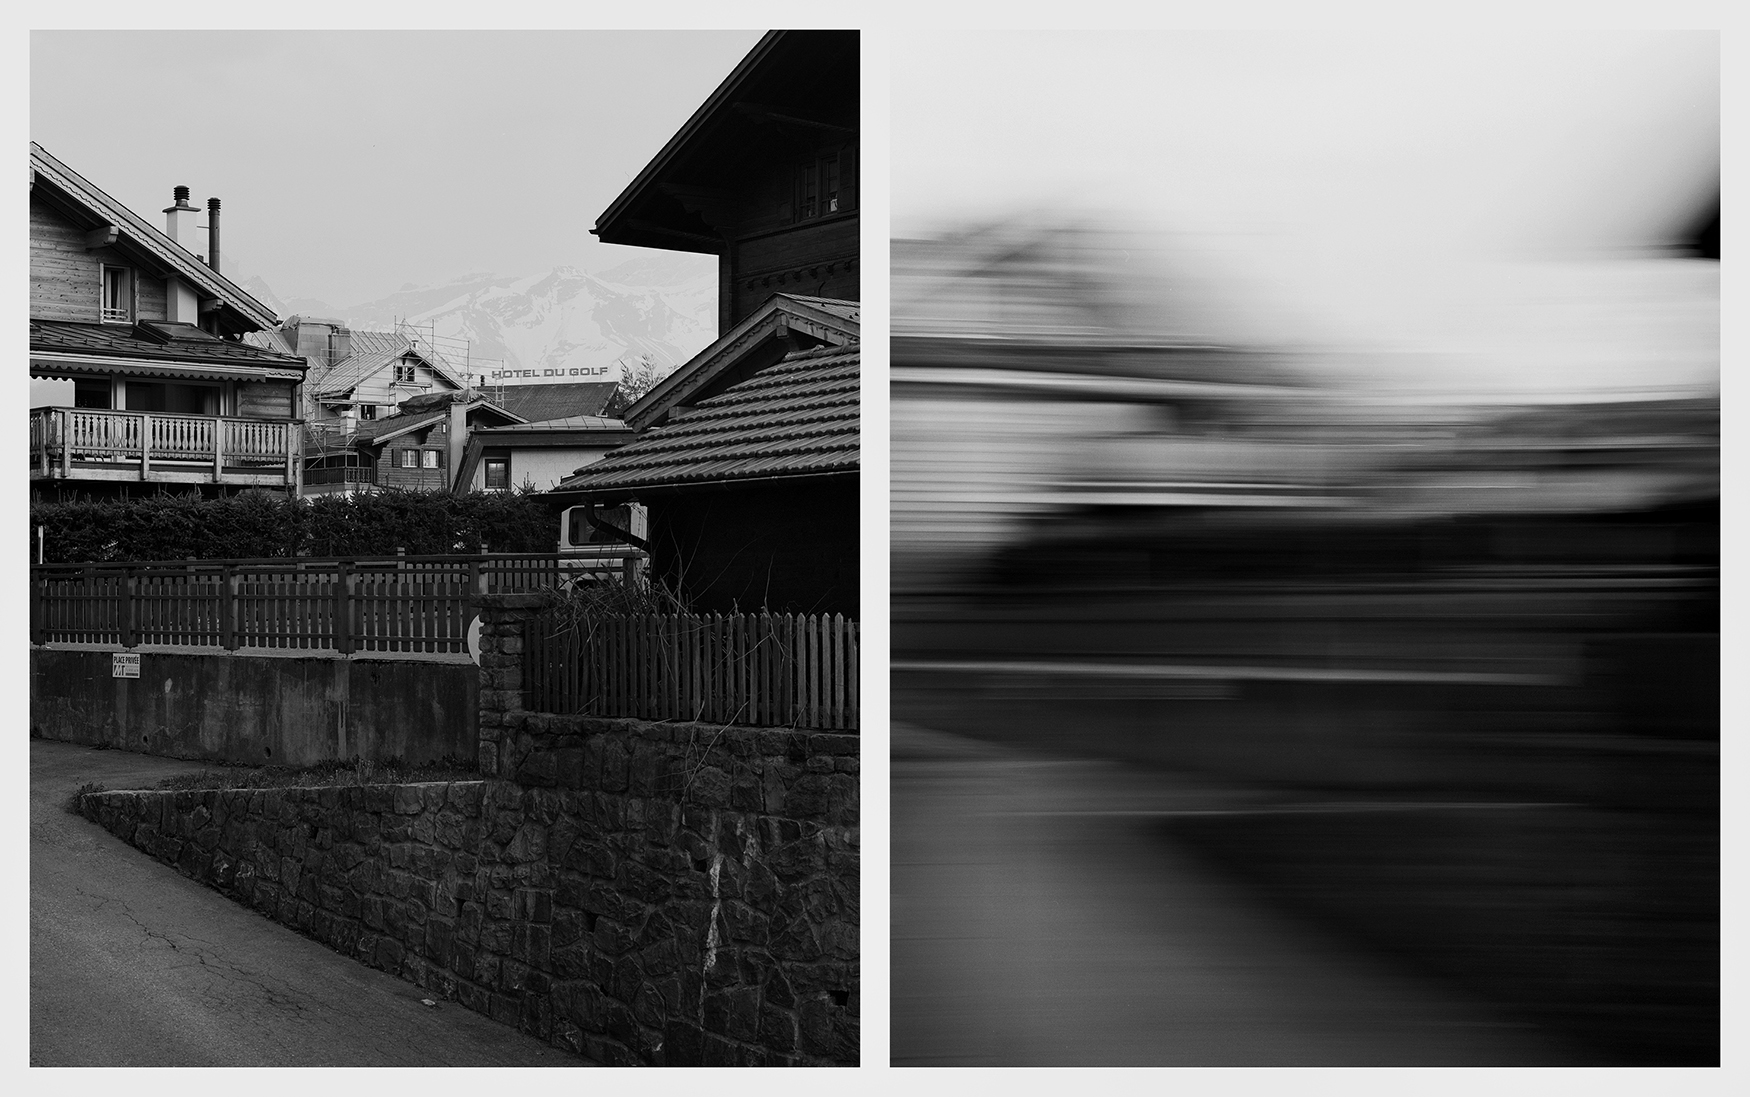
My current approach is to shoot two images of the scene, one static and one panned, to see how they differ. At the moment I’m looking at presenting the images at diptychs, like the one below, as it’s interesting to see which parts of the image appear different due to panning.
I may combine parts of multiple exposures, static and panned, to result in something else. I may experiment with partially static/panned single exposures, or I may present the images as is.
So I really don’t know at this stage. It can take me years to figure out what a project is about, or which direction to take, or what I want to achieve. It’s a slow meditation, and I’m fine with that.